Heavy Delta - Strong Symbols
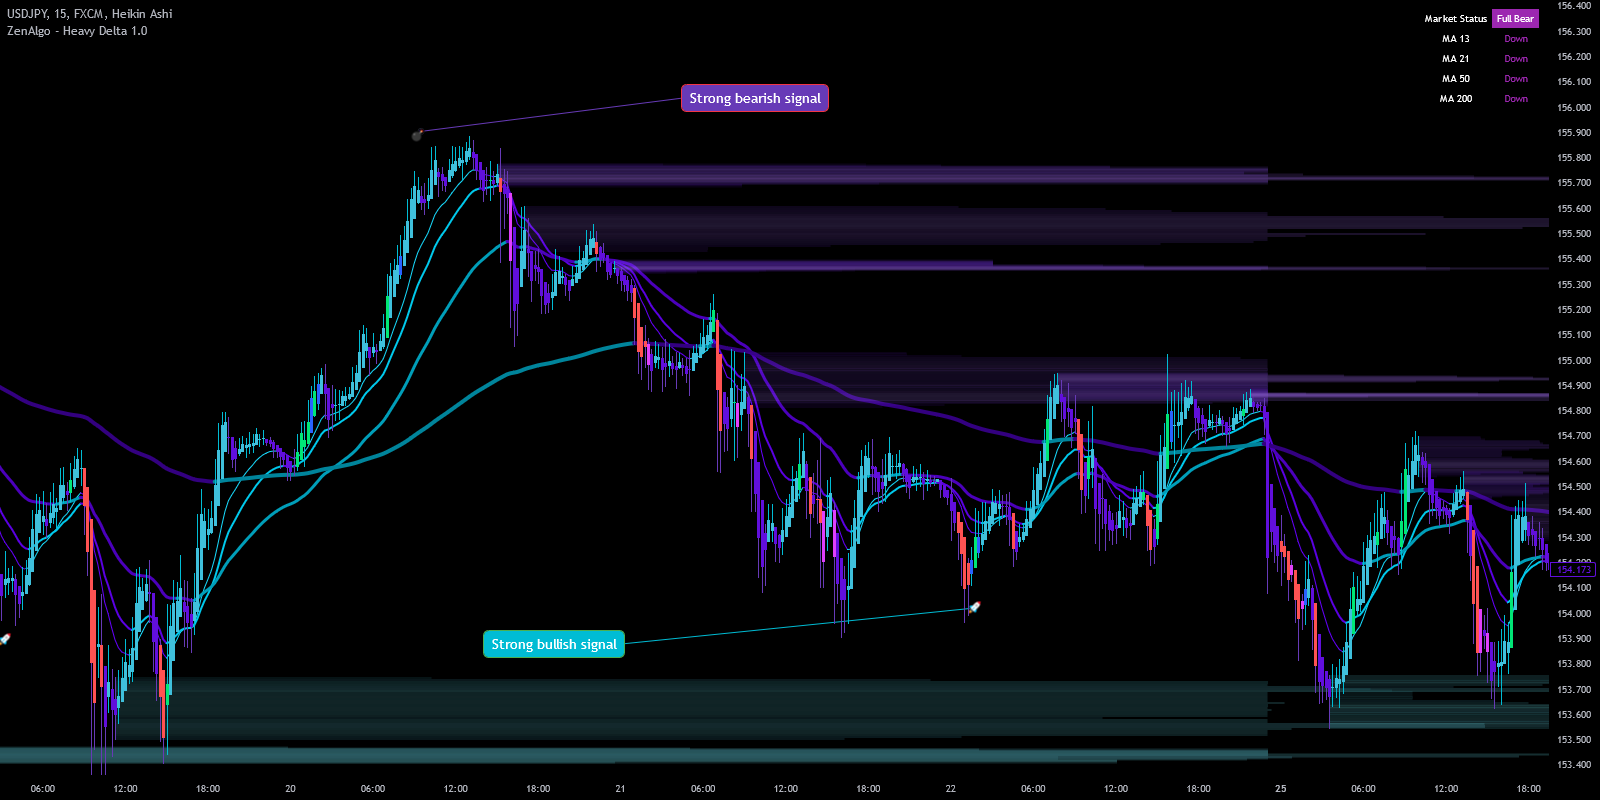
The Strong Symbols in this Pine Script represent significant market events that combine multiple indicators, providing strong signals for potential market entries or reversals. Each symbol is carefully crafted to show either a bullish or bearish sentiment, and they're meant to be easy-to-spot signals that highlight important opportunities.
- Airplane (🛫): Represents a bullish momentum called "Take Off", indicating that the market is experiencing upward pressure. It means the conditions have aligned for a strong long signal, and it's a potential moment to enter a long position. These take-off symbols are displayed at different levels - Level 1, Level 2, and Level 3 - representing varying degrees of bullish strength.
- Bomb (💣): Represents a bearish momentum called "Bomb", signaling that market conditions align for a drop, providing an opportunity to consider a short position. Just like the airplane, the bomb also comes in different levels - signaling increased bearish conditions.
- Diamonds (💎): These are used for divergence signals between the volume delta, RSI/MFI, and other indicators. The diamonds help to identify where there is a discrepancy between price movement and momentum, often highlighting potential reversals. They're also split between bullish and bearish diamonds to indicate the kind of divergence taking place.
How Strong Symbols Work in ZenAlgo
ZenAlgo uses Strong Symbols to provide a visual representation of important market conditions that may indicate opportunities for traders. Here's a detailed explanation of how these symbols work:
-
Symbol Levels
Each symbol (Airplane, Bomb, Diamond) comes in three levels, each indicating the strength of the market signal:
- Level 1: Represents a potential move. The conditions are starting to favor a trend, but the signal is still relatively weak. Traders should exercise caution and look for additional confirmations.
- Level 2: Indicates stronger alignment among different indicators, suggesting a higher probability for a move in the given direction. These signals are more reliable, making them suitable for initiating a partial position.
- Level 3: The strongest level, showing a high probability of a continued trend. All key indicators have aligned to provide the signal. This level can be considered for a full position and is often an ideal entry or exit point.
-
Airplane (🛫) - Bullish Momentum
- Meaning: When you see an airplane symbol, it means the market is experiencing bullish momentum. The strength of the airplane symbol (Level 1, 2, or 3) tells you how confident the indicator is that the market will continue upwards.
- How It Works: ZenAlgo calculates bullish strength based on factors like volume delta, RSI/MFI, and market sentiment. When these indicators align positively, an airplane symbol appears below the price bar.
- Visual Cues: A Level 1 airplane suggests early bullish interest, while a Level 3 airplane indicates very strong buying pressure and market consensus for a potential rally.
-
Bomb (💣) - Bearish Momentum
- Meaning: The bomb symbol represents bearish momentum in the market. It signals that there is a strong likelihood of a price drop, and conditions are aligning for a potential short position.
- How It Works: When selling volume, momentum indicators, and other technical metrics suggest declining prices, the bomb symbol will be displayed above the price bar.
- Visual Cues: A Level 1 bomb warns of initial bearish pressure, whereas a Level 3 bomb signifies a strong potential downturn with consistent selling pressure.
-
Diamonds (💎) - Divergence Signals
- Meaning: Diamonds are used to highlight divergence between indicators like price, volume delta, and momentum oscillators such as RSI or MFI. A divergence occurs when the price moves in one direction while the indicator suggests the opposite, often signaling a possible reversal.
- Bullish Divergence: A bullish diamond appears below the price bar when the price is making lower lows but an indicator is making higher lows, indicating potential upward momentum.
- Bearish Divergence: A bearish diamond appears above the price bar when the price is making higher highs, but an indicator is showing lower highs, suggesting that the upward momentum may be weakening.
The Importance of Levels in Strong Symbols
- Level 1: The market is starting to show early signs of momentum, but it's still weak. This is more of a "watch and evaluate" level. It's an opportunity to prepare your strategy.
- Level 2: Multiple indicators are aligning, making it more probable that the market will move in the indicated direction. It suggests an increased likelihood of success, making it a good point to start layering into a position.
- Level 3: All lights are green (or red, for bearish)! A Level 3 signal shows maximum alignment, often marking a high-probability entry point for traders. It's the kind of signal that provides confidence in your trades.
Practical Use of Strong Symbols in Trading
The Strong Symbols can be highly valuable when incorporated into your trading strategy. Here's how you can make the most out of these signals:
-
Trend Confirmation
- If you see a Level 3 Airplane symbol during an uptrend, it serves as a strong confirmation to add to your long position. On the flip side, a Level 3 Bomb in a downtrend may confirm bearish sentiment.
-
Entry and Exit Optimization
- Airplanes and Bombs: These symbols help determine when to enter or exit a trade based on market sentiment. For example, a Level 2 Bomb appearing after an extended rally might indicate an opportunity to take profits or place a short position.
-
Divergence Spotting
- Diamonds are fantastic for spotting divergences, which are usually good indicators of reversals. Use bullish diamonds to enter long positions at support levels or bearish diamonds to consider short positions near resistance.
-
Dynamic Position Sizing
- Scaling Positions: Enter a smaller position when you see a Level 1 symbol, then increase your exposure if a Level 2 or Level 3 symbol appears shortly afterward. This helps manage risk while gradually increasing commitment as confidence grows.
Tips for Using Strong Symbols Effectively
- Be Patient: Level 3 signals are the strongest, but they are not very frequent. Waiting for them can sometimes mean missing smaller moves, but they provide higher confidence.
- Risk Management: Even Level 3 symbols are not infallible. Always use stop-losses and manage your risk accordingly. Market conditions can change quickly.
- Combine with Other Tools: Use the Strong Symbols alongside other indicators like moving averages, Fibonacci retracement levels, and support/resistance zones to enhance your confidence in the signals.
- Avoid Overtrading: These symbols are designed to filter out weaker opportunities. Stick to the higher-level signals and avoid overtrading based on Level 1 signals alone.
Configuration
ZenAlgo allows you to enable or disable view of Strong Symbols settings to best suit your trading style and avoid clutter.

Summary
The Strong Symbols in this Pine Script serve as powerful visual cues for potential market opportunities. Airplanes (🛫) for bullish momentum, Bombs (💣) for bearish momentum, and Diamonds (💎) for divergence signals all help traders spot crucial turning points. Each symbol has different levels (1, 2, and 3), representing varying degrees of market sentiment, helping you decide whether to enter, add to, or exit positions.
Strong Symbols help traders confirm trends, optimize entries, and identify reversals. By understanding what each symbol represents and integrating them with a broader trading strategy, you can enhance your trading performance and decision-making accuracy. Remember, patience and solid risk management are key - no signal is a guarantee, but they can significantly tip the odds in your favor.
Hope this helps you get more comfortable with using Strong Symbols! If you have any questions or need further clarification, feel free to ask.